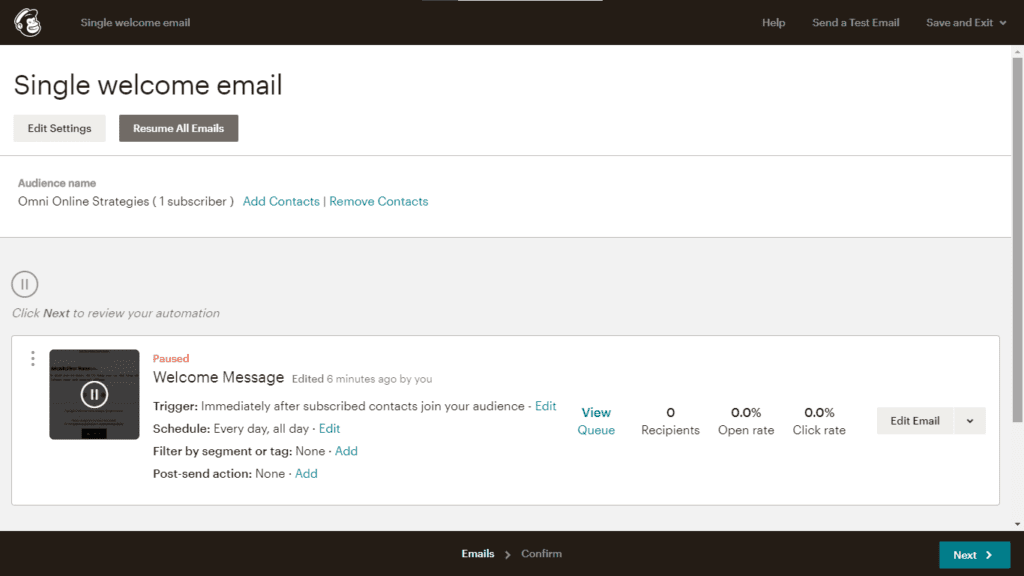
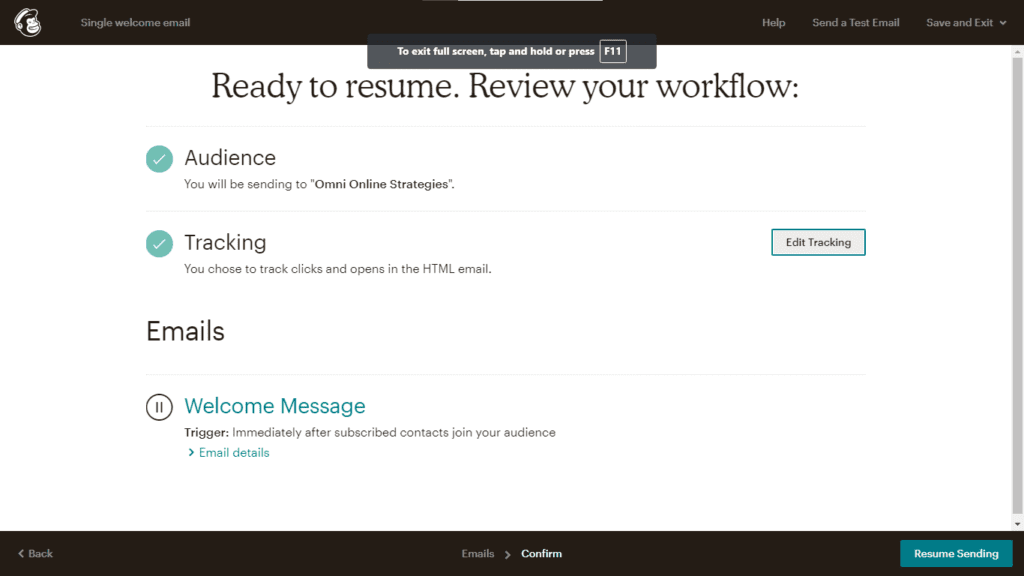
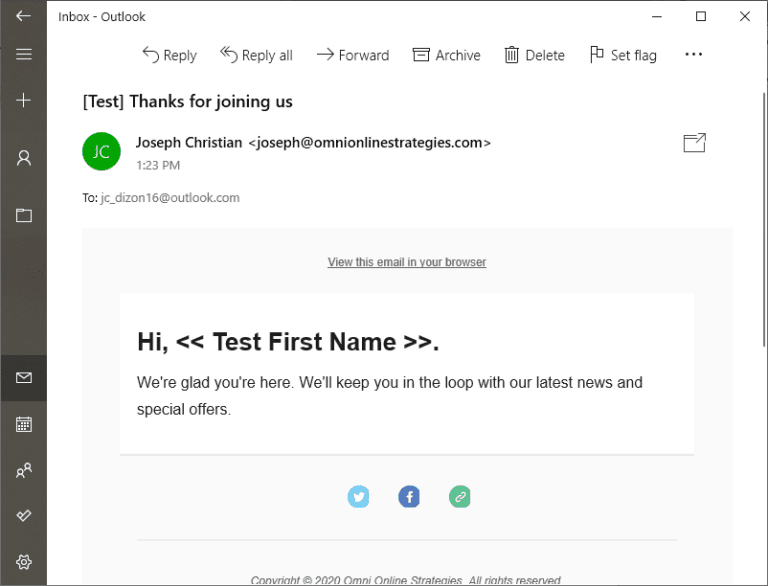
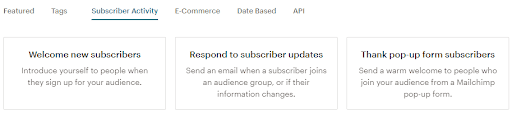
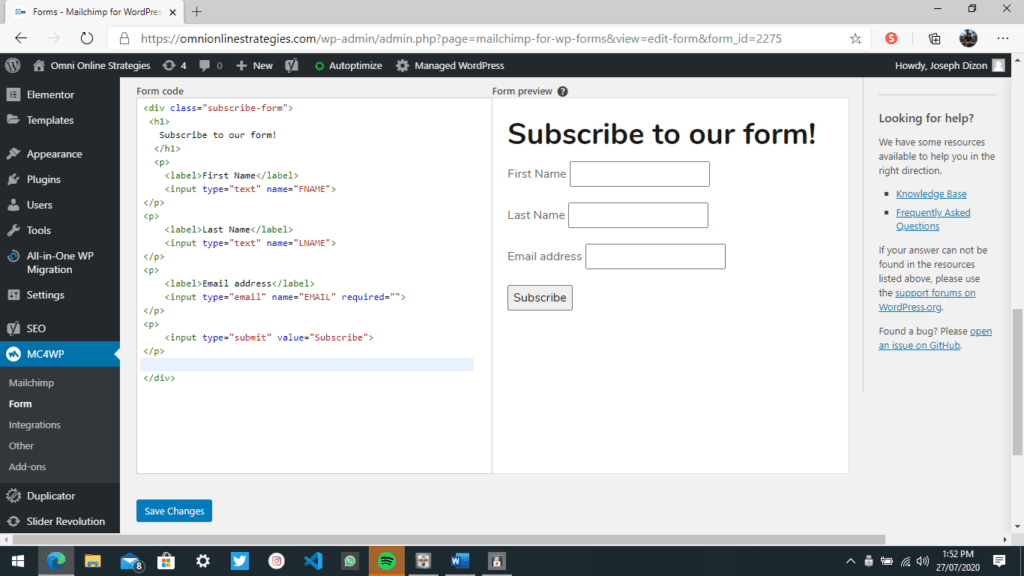
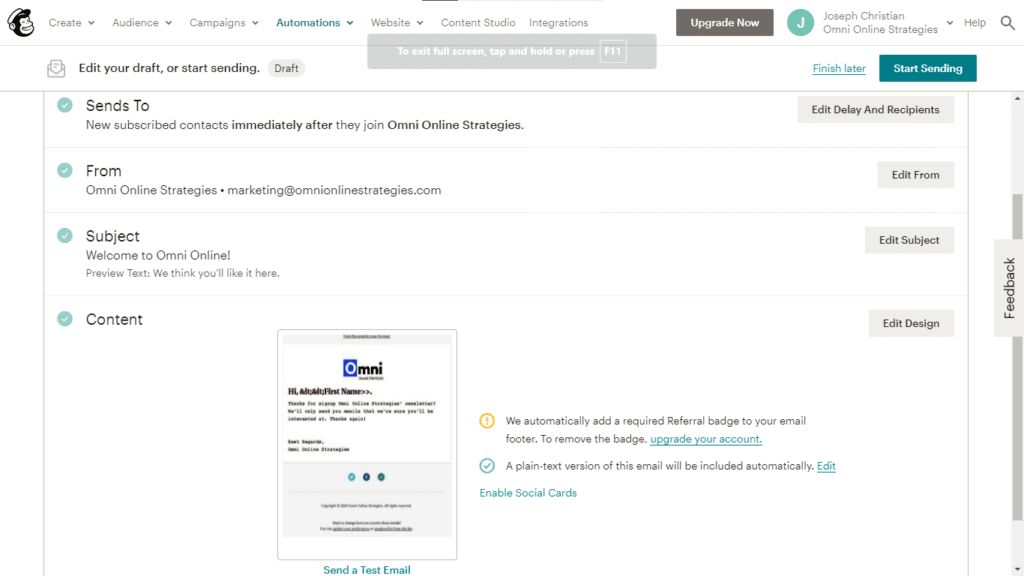
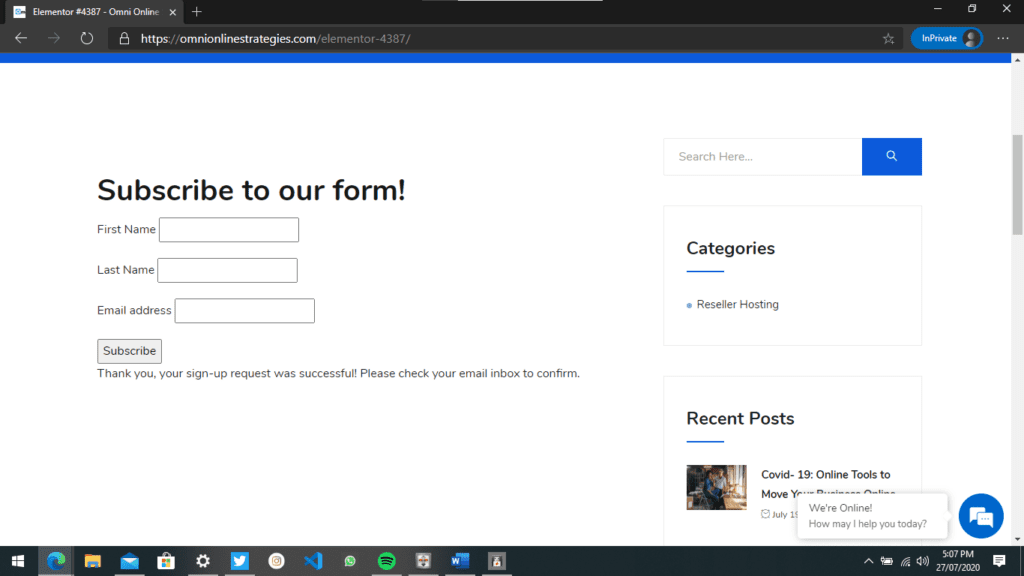
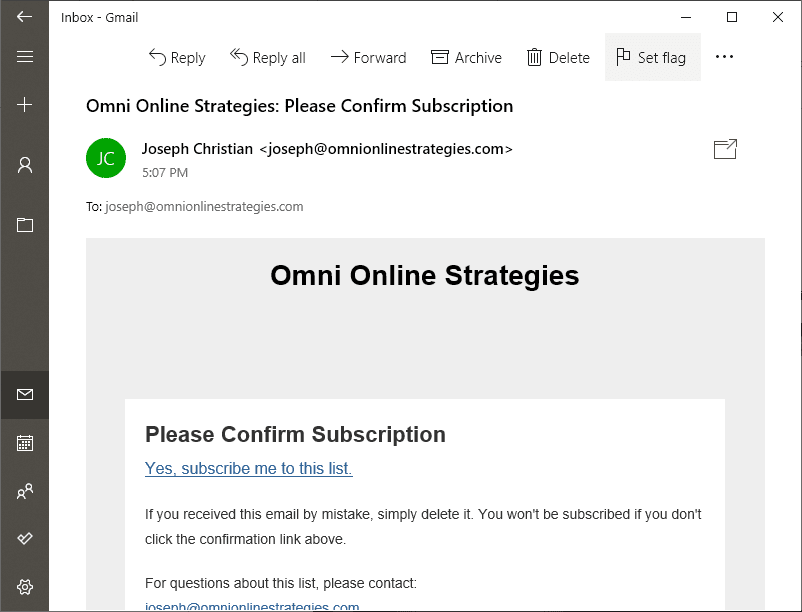
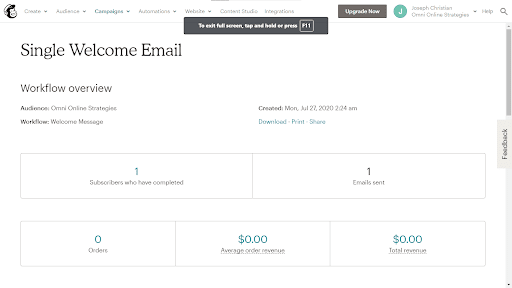

Whether you run an E-commerce Shopify site, or WooCommerce on WordPress, whether you drive traffic to your Kajabi site- selling online tutorials or webinars, whether your new app needs transactional auto-responders or maybe your website features your company’s services and you want to make sure that your visitors’ actions get automatic email responses, this article is all about doing it the right way with MailChimp
The Best Email Marketing Software for Year 2022!
Klaviyo Vs Mailchimp: The Ultimate 2022 Comparison
5 Sales-Funnels that will double your sales on 2022!
An Email Automation workflow automates the sending of email to the subscribed users. Compared to Email Campaigns where emails are sent manually, Emails in Automations are sent by a trigger.
Before continuing, make sure you have already created an email template.
On Figure 1, it shows a summary of the workflow. From there, we can view how the workflow can be triggered (In the screenshot above, the workflow gets triggered when a user signs up or subscribe to a form), its schedule on when the emails gets sent, as well as a statistics like the click and open rate of the emails inside of the workflow. Editing on the workflow will display the following figure below.
Figure 2 shows the actual content of the workflow. We can say that once the workflow has been triggered, it’ll send the following email. We can delay the sending of the email by pressing on the Edit Triggers. It is worth knowing that the free plan of MailChimp only supports one email address for the sending of the emails. Upgrading to the Standard and Premium plan will give you the option to send multiple automated email series. For now, we will be focusing on the free plan of Mail Chimp.
Once you are done setting up the actual contents of the workflow, MailChimp will give you a summary of the workflow when it gets triggered. It will show to you what emails will be sent once it has been triggered. We can also track the links being clicked on the email by pressing on the “Edit Tracking” button in the Tracking section.
Once the user signs up for the form, they’ll receive the email in Figure 4.
MailChimp’s API uses a POST call request to trigger the custom events. MailChimp does not support JavaScript for implementing their tracking functionality. This contrasts with other email marketing services where it uses JavaScript to trigger the workflows. It can be said that this type of implementation is more complex since there is no script to be added when adding the tracker. Before creating an event, make sure you have added your website to MailChimp.
Adding your website can be done by in the Website page. You can also create your own website with MailChimp for a more seamless integration. It’s worth noting that you’ll have to connect your website first before doing this. Instructions for connecting MailChimp to your website can be found at the references section.
/lists/{list_id}/members/{subscriber_hash}/events
{
"name": "registered_account",
"properties": {
"user_type": "Premium",
"preferred_communication": "Email"
}
}
For Simplicity, we will be focusing mainly on implanting MailChimp in WordPress using a unofficial plugin called “MC4WP”. Once done installing, paste the API key of your MailChimp account in MC4WP. API key of your MailChimp account can be found at your Accounts Settings and then selecting on API. You may create an API key if it hasn’t been created yet.
Since we will be using an unofficial plugin, some functionalities offered by MailChimp might not be possible. To implement MailChimp with more access, use the MailChimp Event API. The event API can be found before this chapter.
You may also chance when will the email gets sent by editing the delay. Since we’re using the free tier of MailChimp, some features and functionalities is limited. Once of the features that is available in higher tiers of MailChimp is sending of multiple automated emails (Automated Email Series) in one workflow. Once done you should be able to see your automation workflow in the Campaigns page.
We can test the automation workflow itself by using the form we’ve created in WordPress. Refer to the outputs below
We’ve Implemented MailChimp into WordPress! While it’s currently limited because there are currently no way to implement MailChimp with an official plugin, the unofficial one can be used as an alternative in triggering the automation workflow in the Automations page.
Cookie | Duration | Description |
---|---|---|
cookielawinfo-checkbox-analytics | 11 months | This cookie is set by GDPR Cookie Consent plugin. The cookie is used to store the user consent for the cookies in the category "Analytics". |
cookielawinfo-checkbox-functional | 11 months | The cookie is set by GDPR cookie consent to record the user consent for the cookies in the category "Functional". |
cookielawinfo-checkbox-necessary | 11 months | This cookie is set by GDPR Cookie Consent plugin. The cookies is used to store the user consent for the cookies in the category "Necessary". |
cookielawinfo-checkbox-others | 11 months | This cookie is set by GDPR Cookie Consent plugin. The cookie is used to store the user consent for the cookies in the category "Other. |
cookielawinfo-checkbox-performance | 11 months | This cookie is set by GDPR Cookie Consent plugin. The cookie is used to store the user consent for the cookies in the category "Performance". |
viewed_cookie_policy | 11 months | The cookie is set by the GDPR Cookie Consent plugin and is used to store whether or not user has consented to the use of cookies. It does not store any personal data. |